Making Meal Prep Enjoyable

Finding a sense of order
When I first started meal prepping, I spent a lot of unnecessary time bumbling around the kitchen. I struggled to be present and enjoy the process of cooking foods because I felt I didn’t have a system for approaching it.
After much trial and error, I was finally able to come up with a routine I was excited about. This post outlines how I like to tackle my weekly meal prep so I can feel good about the time I’m spending in the kitchen.
This post pertains to the meal prep method of Meal Building, a simplified form of meal prep that allows for tons of variety in creating delicious meals at home.
These steps are to be completed after you’ve got your meal prep Game Plan and Grocery Shopping all squared away.
>> If you’re unfamiliar with how to make a Game Plan, I recommend reading more about it here before embarking on the rest of this post.
STEP BY STEP MEAL PREP
Alright, so you’ve figured out what you’ll be eating during the course of the next week with your game plan. You’ve turned your game plan into a shopping list, scooted off to the store, and are back in the kitchen with all the groceries you’ll need.
Now, carve out about 1-2.5 hours to prep some food and let’s get started!
Create an awesome environment. You’ll be spending a good chunk of time in the kitchen, might as well make it as homey as you can! Turn on some music, a podcast, audiobook, or call a friend. Whether it’s through earphones or blasting through a speaker, create an environment that makes you feel happy and energized. This is your time, so do what you can to enjoy it! Friendly reminder that silence is totally okay too.
I’ll be writing a post with some podcast recs, soon!Clear off your counter and sink. Clear out your fridge too, while you’re at it. Do the dishes, put unnecessary items away, and give yourself as much space as possible. Seriously, don’t skip this, even if that means cleaning up your roommate’s or family’s dishes. This step makes things way easier and more enjoyable as you go.
Take out your needed tools and ingredients. Having these at the ready will allow you to jump from recipe to recipe, seamlessly. Take a peek at your game plan and use that as your tool/ingredient guide. If you’ve got minimal kitchen space, just take out what you’ll need for what you’re prepping first.
It’s a good rule of thumb to start by grabbing a cutting board, knife, storage containers, and some towels for cleanup.Remember to put prepped food away as you go. Keep this in mind as you get started with making your food. Nobody likes a cluttered counter! Keeping your workspace clear will really help keep things moving.
Start cooking items that take the longest, first. You’ll want to start any recipes that take a while to cook or prepare (rice, beans, roasted veggies, etc) right away so you stay on track with timing. While your more involved food prep items are cooking, you can multitask with the rest of your prep. Just don’t forget to set timers!
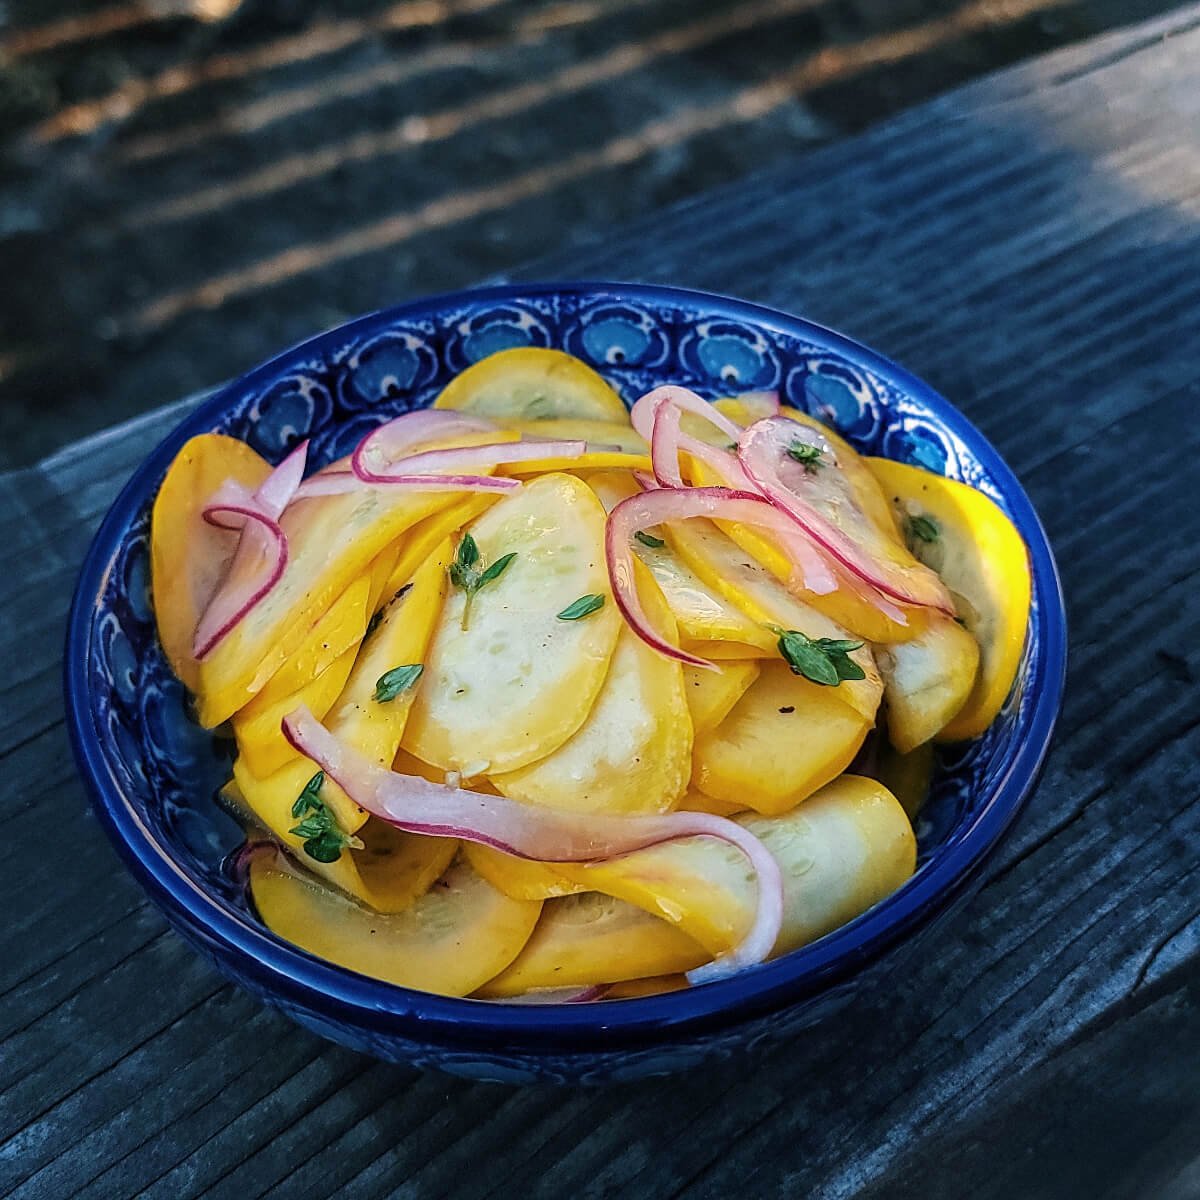
Then chop your fruits and veggies. I like to start with ingredients containing the least water content (like lettuce), and finish with highly watery produce (like tomatoes). I just find it keeps my work space clean for longer.
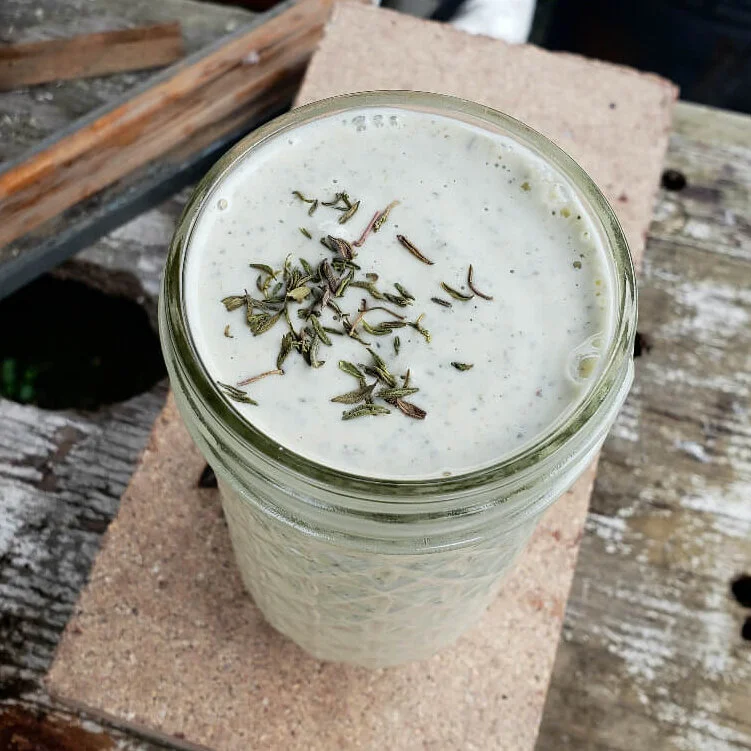
Also, quick reminder to clean your cutting board really well after chopping onions or everything you chop afterwords will taste like them!Finish up by making any sauces. I like to make any sauces at the end of my meal prep because it tends to keep my sink clear for longer. But honestly it doesn’t really matter what order this happens in.
Clean up your dishes! It helps to clean up as you go, but at the end of your prep session you may still be left with a sink full of dishes. Clean up your mess right away while you’ve still got some momentum!
That’s all there is to it! Once you’re done with this prep, you should be stocked up and ready to make a delicious meal!
Final Tips & Tricks
Remember that meal prep gets easier with time. It may take you a while when you first start out, but it does get quicker and more streamlined as you continue to do it. Be patient with yourself, learning to cook this much food at once can be overwhelming in the beginning. After I pushed through the initial learning period, what used to take me 2 hours now only takes 1. Plus, I can usually sneak in a lunch break. Which leads me to….
Make your lunch while you prep! I’ll often fill a bowl with whatever doesn’t fit perfectly into my containers and enjoy that mid-prep. You can also make an “extras” container and eat it for lunch or dinner later.
I love using mason jars as my primary storage container. They come in a ton of different sizes (I love 16 oz & 32 oz), they’re easy to find at thrift stores, and they keep food fresh longer than plastic containers. They also allow you to put warm food in them right away and they’re microwaveable!
I store my sauces in squeeze bottles for super easy dispensing. I got mine at a food service store but you can often find them at second hand stores too. You can also reuse an empty ketchup or mustard bottle.


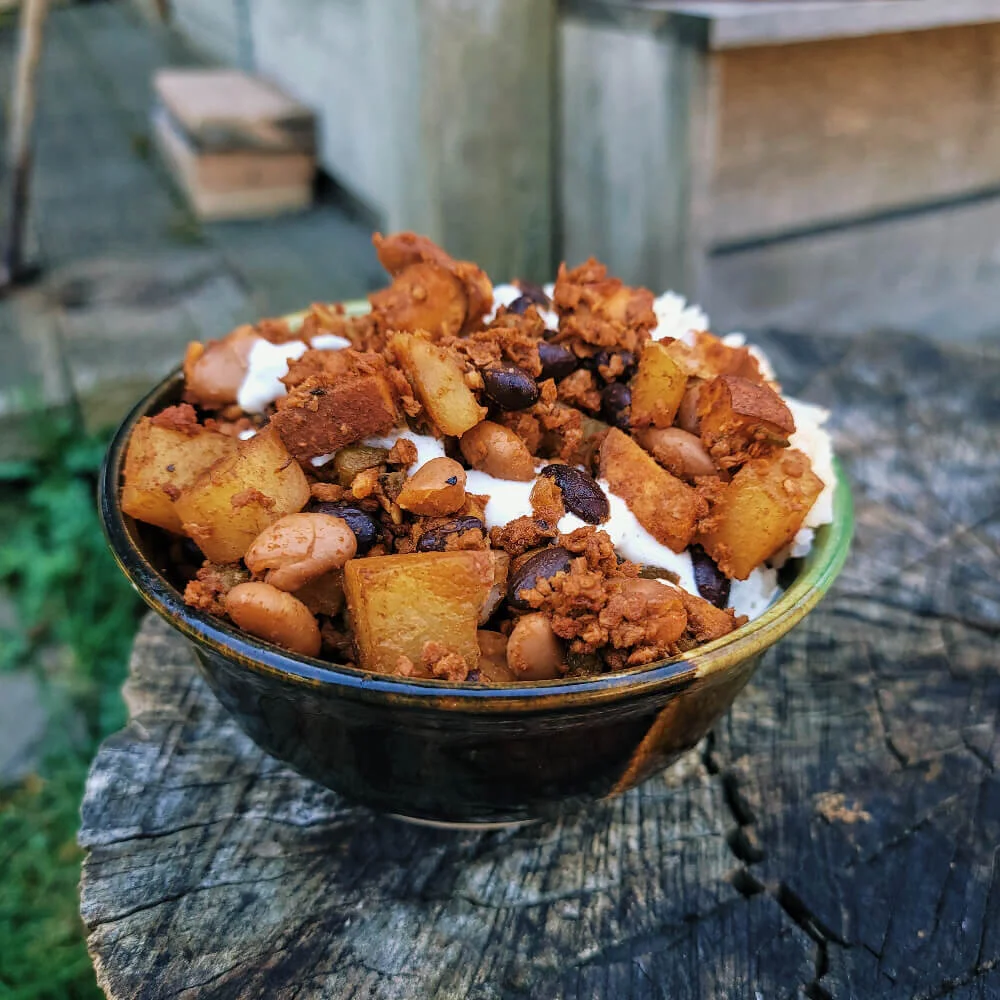


This easy mealtime bowl of goodness warms your heart, your belly, your soul. A beginner-friendly recipe and longtime fav for quick weeknight dinners.